


Hey there! As a supplier of Emergency Dewatering Pumps, I know how crucial it is to keep these pumps in top - notch condition. A well - maintained pump can be a real lifesaver during emergencies, whether it's a flood, a burst pipe, or any other water - related crisis. So, let's dive right into how to clean an Emergency Dewatering Pump.
Step 1: Safety First
Before you even think about cleaning the pump, safety should be your number one priority. First off, make sure the pump is turned off and unplugged if it's an electric pump. If it's a diesel - powered pump, turn off the engine and let it cool down completely. You don't want to get burned by a hot engine or risk getting electrocuted. Also, wear appropriate safety gear like gloves and goggles. The water and debris that the pump has been dealing with can be dirty and potentially harmful.
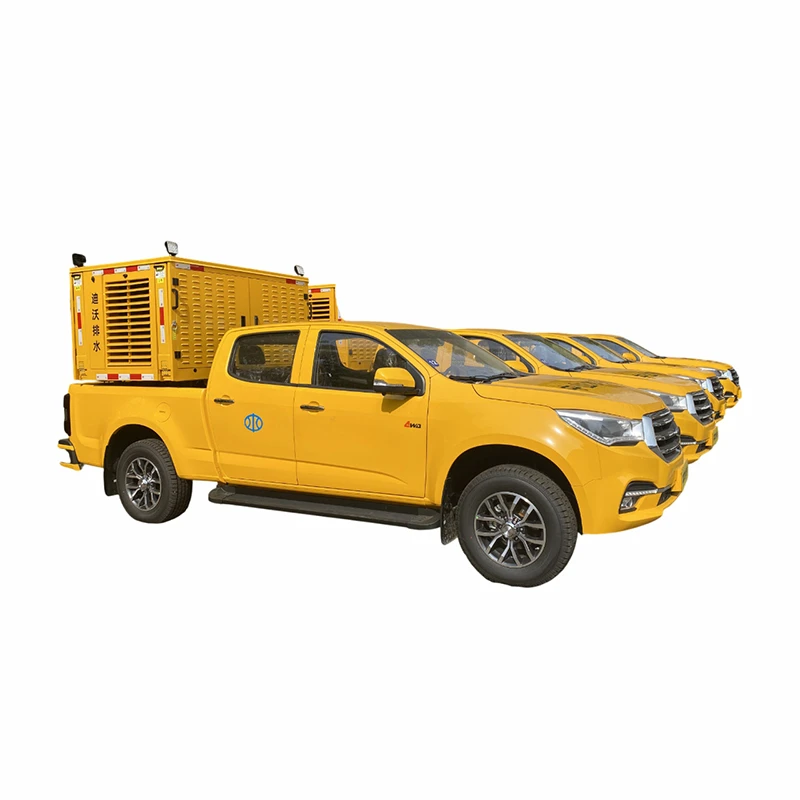
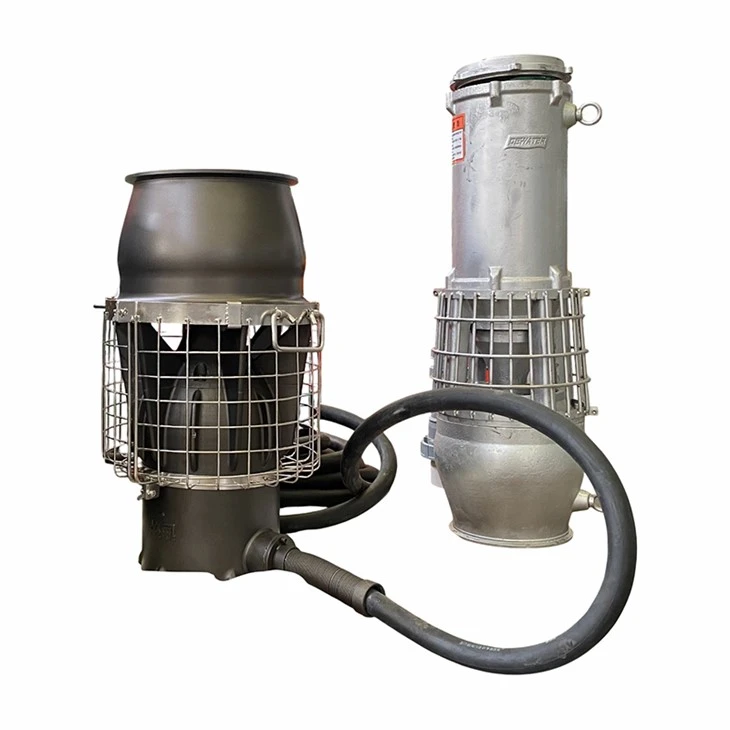
Step 2: Remove the Pump from the Water
If the pump is still in the water, carefully lift it out. Be cautious because it might be heavy, especially if it's a larger model. Place it on a clean, flat surface where you can work comfortably. This will give you easy access to all parts of the pump for cleaning.
Step 3: Disassemble the Pump (if possible)
Many Emergency Dewatering Pumps can be disassembled to some extent. Check the user manual to see which parts can be taken apart. Usually, you can remove the impeller, the intake screen, and sometimes the housing cover. Use the right tools for the job, like wrenches or screwdrivers. As you take the parts out, lay them out in an organized way so you know where everything goes when it's time to put the pump back together.
Step 4: Clean the Exterior
Start by cleaning the outside of the pump. Use a hose to rinse off any dirt, mud, or debris that has stuck to the pump's surface. You can also use a mild detergent and a soft brush to scrub away stubborn stains. Make sure to clean all the nooks and crannies, including the handles and the control panel. This not only makes the pump look better but also helps prevent corrosion.
Step 5: Clean the Intake Screen
The intake screen is an important part of the pump as it prevents large debris from entering the pump and causing damage. Remove the intake screen and soak it in a bucket of warm, soapy water. Use a brush to gently scrub the screen to remove any dirt, leaves, or other particles that have collected on it. Rinse it thoroughly and let it dry before putting it back on the pump.
Step 6: Clean the Impeller
The impeller is the part of the pump that moves the water. Over time, it can get clogged with debris, which can reduce the pump's efficiency. Remove the impeller and inspect it for any signs of damage or blockage. If there are any small pieces of debris stuck in the impeller, use a small brush or a toothpick to carefully remove them. You can also soak the impeller in a cleaning solution to break down any stubborn dirt. After cleaning, rinse it well and dry it completely.
Step 7: Flush the Pump
Once you've cleaned the individual parts, it's time to flush the pump itself. Fill a bucket with clean water and submerge the pump's intake in the water. Turn the pump on for a short period to let clean water flow through the pump. This will help remove any remaining dirt or debris from the inside of the pump. Do this a few times to ensure a thorough cleaning.
Step 8: Reassemble the Pump
After all the parts are clean and dry, it's time to put the pump back together. Refer to the user manual to make sure you reassemble the parts correctly. Tighten all the bolts and screws properly, but don't over - tighten them as this can damage the parts.
Step 9: Test the Pump
Once the pump is reassembled, it's important to test it to make sure it's working properly. Fill a container with water and place the pump in it. Turn the pump on and check if it's pumping water effectively. Listen for any unusual noises or vibrations, which could indicate a problem. If everything seems to be working fine, your pump is ready for its next emergency.
Now, if you're in the market for an Emergency Dewatering Pump, we've got some great options for you. Check out our Mobile Water Drain Pump Trailer, Mobile Flooding Control Pump, and Municipal Emergency Rescue Pump. These pumps are designed to handle tough situations and are built to last.
If you're interested in purchasing any of our pumps or have any questions about maintenance and cleaning, don't hesitate to reach out. We're here to help you make the right choice for your emergency dewatering needs.
References
- Manufacturer's user manuals for Emergency Dewatering Pumps
- Industry best practices for pump maintenance and cleaning